** This post was updated on June 27, 2026 to reflect an adjusted recipe and some more useful tips!
Raise your hand if you’ve ever been personally victimized by a cooking video.

One morning, bleary with sleep and enamored by the promise of a plan-free Saturday that was ahead of me, I was scrolling through my recommended Instagram videos and came across a video with an English muffin recipe that looked amazing and simple. I was entranced. Intrigued. I have always been intimidated by baking bread and here was this kind soul explaining it in a way that made it seem approachable, straightforward, and like it doesn’t take too long.
When I attempted to make it, the final product was dense and, while it tasted fine, I didn’t feel compelled to go for another. I think this was 90% user error (I was impatient) and 10% recipe issue (they encouraged hand mixing, which is possible, but much, much more difficult). Since I went on that adventure, I’ve been trying to find another recipe that’s a little easier.
I finally found a bread flour English muffin recipe from the only monarch I support: King Arthur Flour. Coupled with their corresponding blog post to speak to technique, backed by a couple of successful bread bakes, I had a good feeling about this.
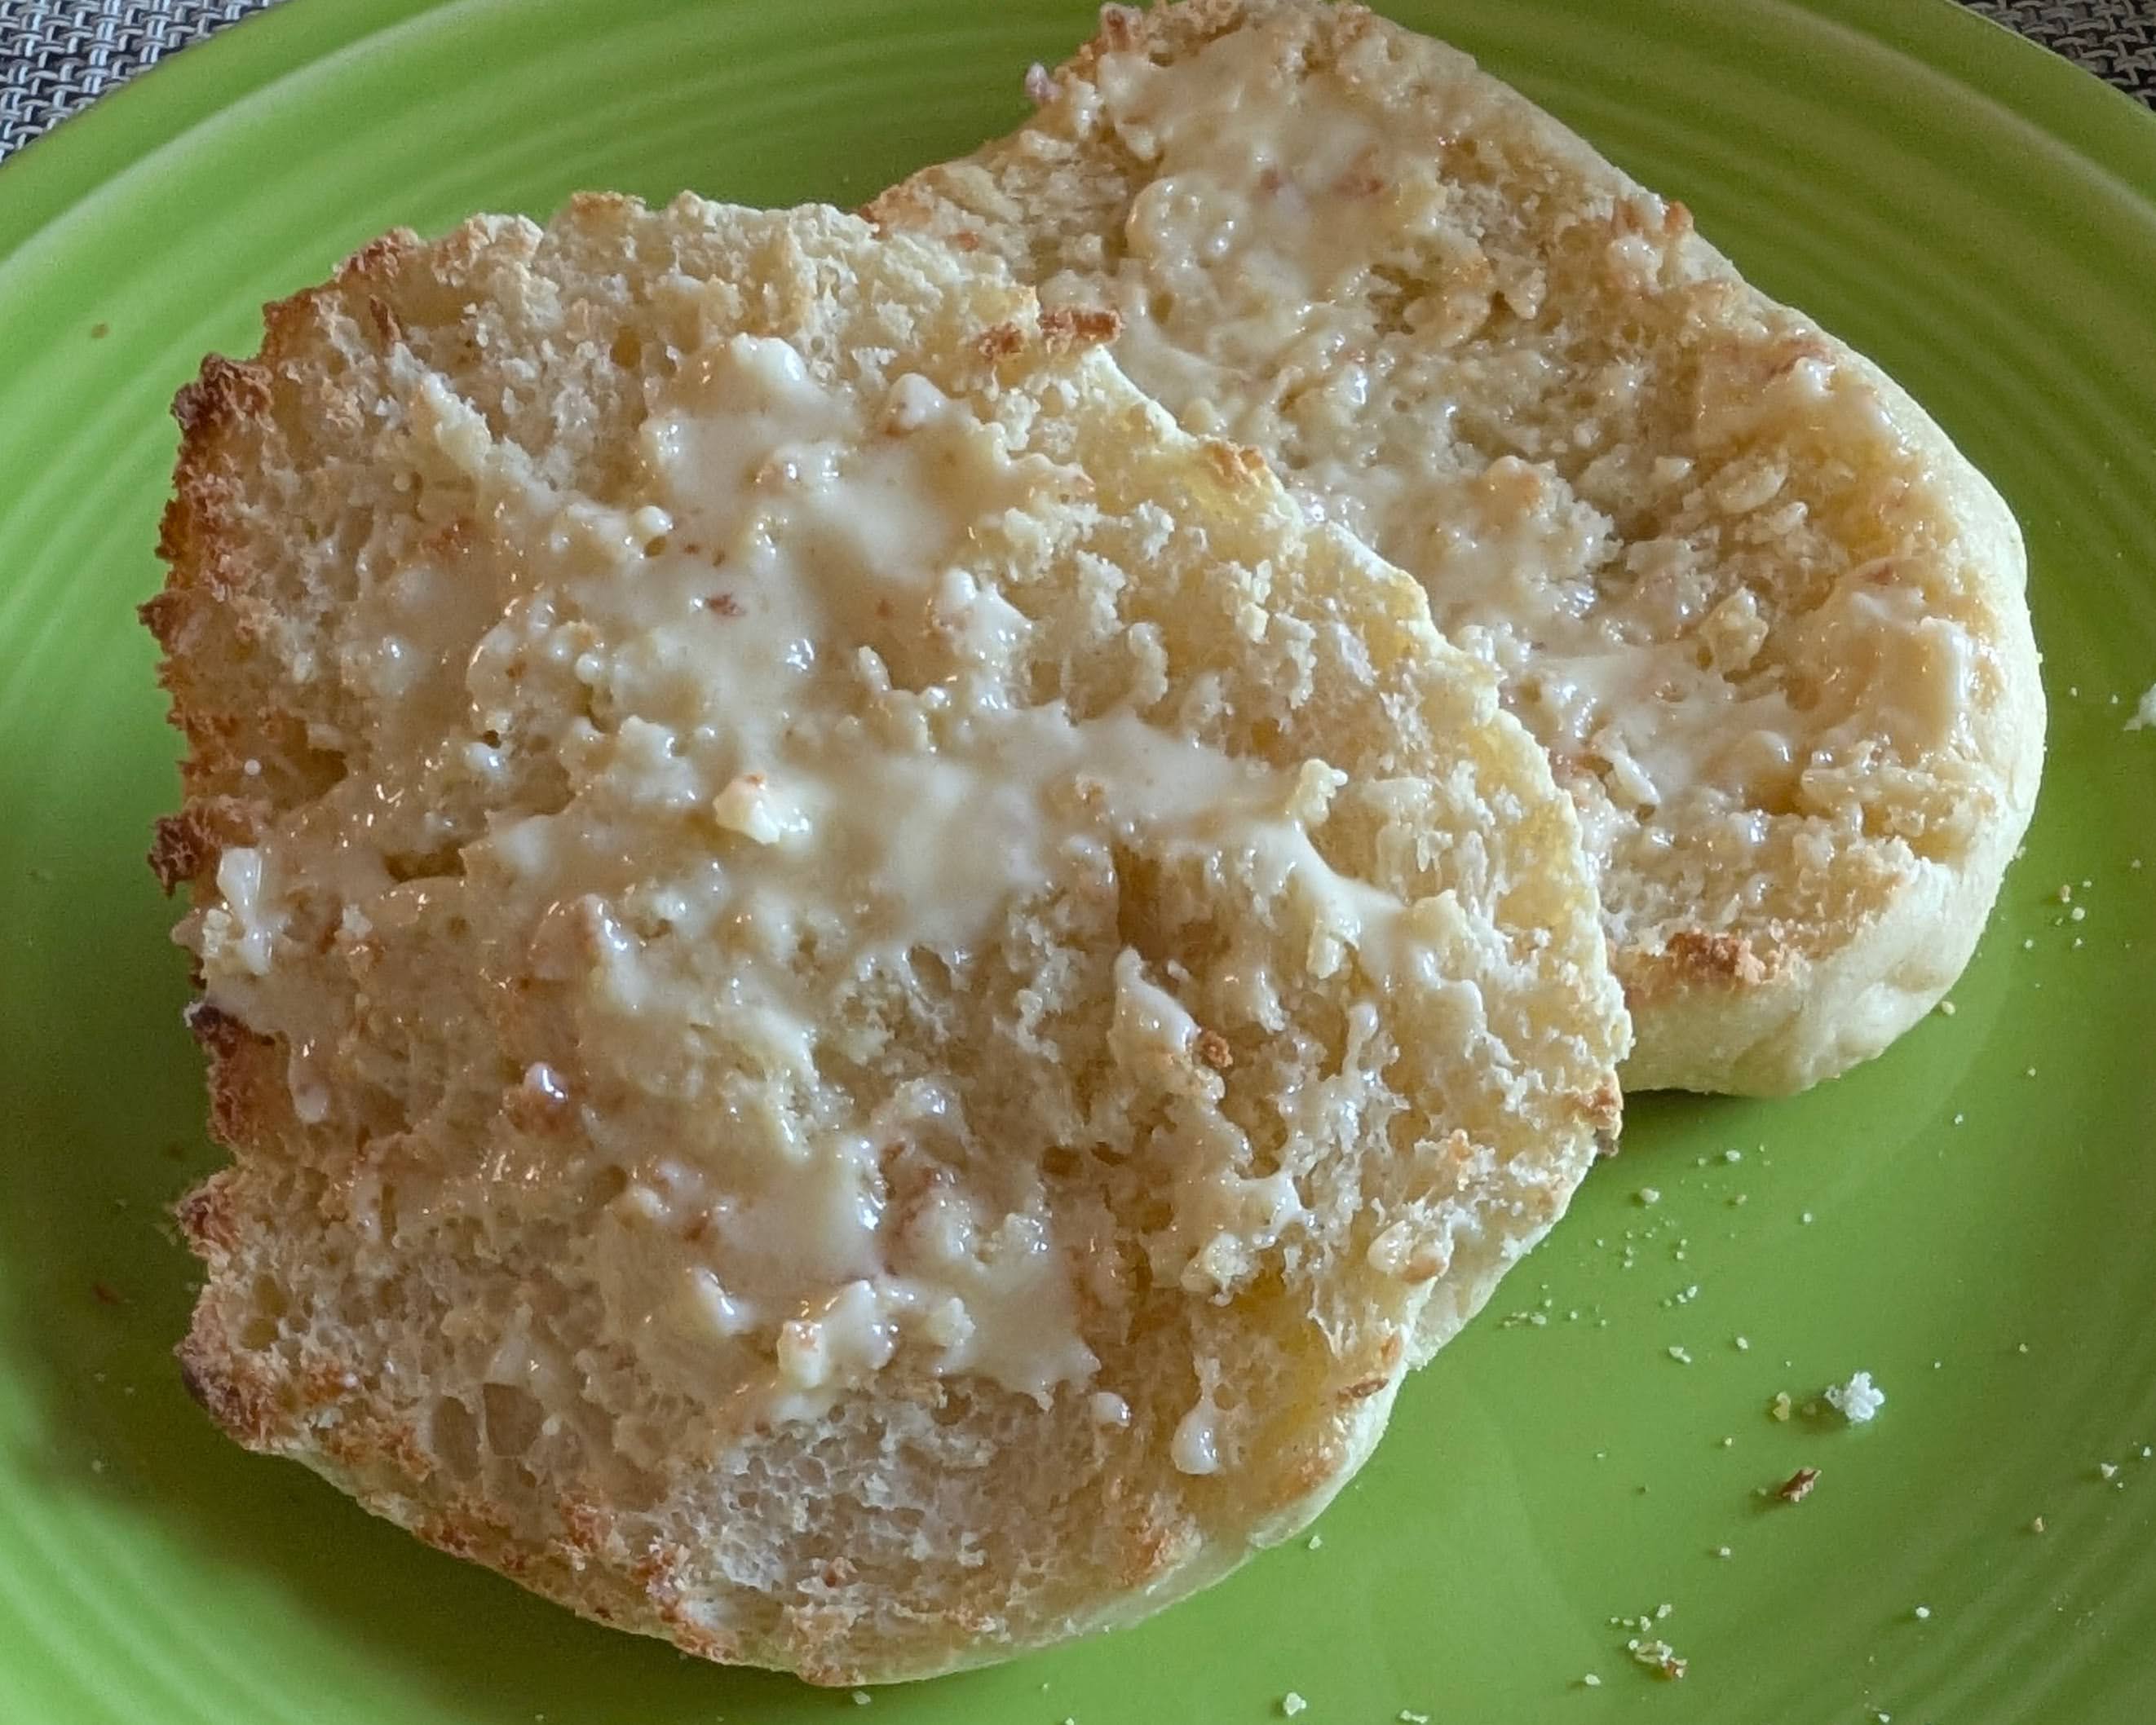
The recipe worked. Homemade English muffins are a goddamn delight and about a thousand times better than store-bought, which have recently started tasting like dry cardboard without any salt. I even made them again a couple weeks later, distributing them to friends and loved ones like some kind of carb fairy. However, I do think the blog post and recipe from the true King of the North are missing a few important details/caveats, so that’s why I’m posting it here.
And transparently, the actual cooking part of this is a pain in the ass, especially if you have a smaller oven, but it’s definitely worth it. They freeze up really well (just give them a little bit of time in the fridge to thaw out before toasting and eating), you can make them as thick or as thin as you want them to depending on what kind of toaster you have, and we all know that every bread tastes better when you make it yourself because the added topping of pretension is a nice finishing flavor.

English Muffin Baking Tips
- How to bake with instant/RapidRise yeast: Since this recipe uses instant yeast, I wanted to make note of how it differs from regular yeast. You don’t bloom it in a separate cup of warm liquid. Instead, you mix it in with the main ingredients and pour the warmed liquid (in this case, milk) on top. However, instant yeast requires hotter liquid – between 120 – 130 degrees Fahrenheit. To heat the milk to this temperature, pop it in the microwave for two minutes, stirring every 30 seconds or so to prevent scalding.
- What kind of milk to use: the original recipe doesn’t specify. I used 2%. I’d be careful about using whole milk or something heavier lest it impact the dough somehow.
- Don’t panic if your dough texture isn’t just right. The blog post from King Arthur Flour makes the dough look satiny and shiny and pretty. That is not how mine looked either time I made these, but the final product still had a great texture.


- Use a dark pan. I don’t have an electric griddle. I have a square nonstick griddle pan with tons of scratches on it that’s probably on its last legs after 20 years of use. That being said, it outperformed my newer, nicer stainless steel pans considerably for this recipe, so I recommend using a dark pan to brown the muffins before popping them into the oven for the final stretch.
- The first batch will take forever. Seriously. It takes a thousand years to get the first batch (in my case that meant four muffins) hot enough to brown because this is a “low and slow” type of recipe. Don’t panic. I regret to inform you that you’ll just have to wait.

You will love these. They’re fluffy, a little tangy, perfect with butter and…more importantly…pretty forgiving. Let me know what you think with a review or a comment!

Bread Flour English Muffins
After making these, store bought English muffins will be a thing of the past. The nooks and crannies are worth the effort!
Ingredients
- 4 ½ C (540g) bread flour
- 1 ¼ – 1 ½ tsp table salt (to taste)
- 2 tbsp (25g) granulated sugar
- 1 packet (7g) instant yeast
- 1 ¾ C milk, heated to 120-130° F
- 3 tbsp butter, softened
- 1 large egg, lightly beaten
- Corn meal, semolina flour, or farina for sprinkling on the griddle
- Nonstick cooking spray , as necessary. If you are using a well-seasoned or nonstick pan, you won’t need this.
Instructions
- Weigh (preferable) or carefully measure the flour and put it in the bowl of a stand mixer.
- Follow with the rest of the ingredients except the corn meal and the cooking spray.
- Using the paddle attachment, beat the dough undisturbed for about 5 minutes on medium-high (I had it at speed 6). The dough will begin pulling away from the sides of the bowl and will be stretchy when you tilt up the head of the mixer (see note).
- Using your oiled fingers or a spatula, pull the dough into a rough ball and cover the bowl. Let rise until it’s puffy (about 1-2 hours). In an 85° oven on the proofing setting, this took an hour. Here is how it looked after proofing:

- Towards the end of the first proof, prepare your cooking surface. Because you’ll be laying the first batch of muffins on the griddle or pan before you heat it, they need to be prepped in advance by sprinkling the surface generously with the corn meal after spraying with the nonstick spray if necessary. Do the same with a baking sheet lined with parchment paper if you can’t fit all the muffins on your griddle at the same time.
- Gently deflate the dough by either pulling it from the side of the bowl or just pushing it down slightly.
- Weigh the dough and then divide it evenly into 16 pieces.
- Shape each piece into a smooth ball, then flatten until they’re about 3″ – 3½” in diameter depending on how thick you want them to be. I shape them with the bottom of a glass coated with oil.
- Lay as many of the raw muffins onto your prepped griddle as you can. They can be pretty close together because the dough doesn’t spread much while cooking. Sprinkle the tops with additional corn meal.
- Put the remaining raw muffins on your prepped baking sheet. Sprinkle the tops with additional corn meal.
- Loosely cover the raw muffins with parchment paper or plastic wrap for another 20 minutes. They’ll get a little puffier, nothing crazy.
- Preheat your oven to 350° F.
- After the second proof, turn the burner(s) on under your griddle. Set it to medium-low (leaning more towards low) and now we play the waiting game.
- An important thing to note is that the first batch is always going to take 600 years. Because the muffins are cooking while the griddle is heating rather than making contact with an already-warm pan, everything is crawling along. However, once the surface gets to a decent temperature (think about 15 minutes or so), you’re in business: once one side is a desired shade of toasty brown, flip them over. It should be another 10-ish minutes to get similarly brown on the other side.
- The temperature where these muffins are done is 200° F. If by some miracle your muffins are totally done after a couple of flips and aren’t burning on the outside, move them to a cooling rack to cool completely.
- Fun fact: your muffins probably won’t be done, but that’s what the oven is for. Pop them onto a parchment-lined baking sheet and stick them in the preheated oven for 5-7 minutes depending on how close to done they actually are.
- Remove the muffins, check the internal temperature, and put on a baking rack to cool.
- In between batches, sprinkle the pan with corn meal, semolina flour or whatever you’re using. Every batch should have contact
These will keep in the refrigerator for a week or so, but they also freeze well. Wrap them tightly and individually in cling wrap and then put them all in one freezer bag. They need to thaw on the counter for an hour or two before toasting, but they still taste great.
Notes
- According to King Arthur Flour's original recipe, the dough will be smooth and shiny after mixing (step 3), but this is not how mine looked and the muffins turned out fine. As always: don't panic.
- Use a fork to split the muffins open to optimize nooks and crannies!
- Technically you're not supposed to eat them right out of the oven so their structure can set etc etc but I shared one with Rob basically 38 seconds after it was out and it absolutely ruled.
Leave a Reply