A couple months ago I planted a couple of raised garden beds and filled them with herbs, especially ones that would repel mosquitos. It didn’t work for that purpose, but now I have tons of sage, rosemary, thyme, lemongrass, mint, and basil. That last one decided to explode last week to the point where it was blocking the sunlight to other plants, so the other day I went out and cut about three cups of leaves with the intention of making basil pesto.

When I first started cooking, I remember I kept hearing that pesto was so easy and straightforward, but plenty of things about it seemed intimidating. First of all, there was a big talk about the importance of ratios (how much oil? How much basil? How much salt? What quantity of pine nuts?). There were also two small other factors: that I barely knew how to use a blender and wasn’t remotely accustomed to using nuts in my cooking.
Alas, I got over it, made it poorly a couple of times and then decently a few times since then. All in all, though, dragging out the food processor was a pain in the ass, the appliance is way too loud, and it’s annoying to clean.
Enter: the immersion blender I got for Christmas. I hadn’t used it yet but it seemed perfect for the job. Quiet, easy to clean, definitely better for a small batch of pesto (say, a cup or less) than an entire blender setup, where the payoff might not be worth the hassle.
I’m not even remotely an expert, but now that I’ve made pesto a few times and eaten it WAY more than a few times, I think there are two key things that can make or break it:
- The quality of the olive oil. I used Sparta Gourmet after doing no research at all and just popping into a store by me that sells tasty, higher-end Mediterranean food and groceries. If you have a basil bush, higher end olive oil is worth the cost because you’ll be using it more.
- Toasting the pine nuts. If you spend a few minutes toasting them in a pan (head to the Food Network site to learn all about how to toast pine nuts), the flavor jumps out and is a lot warmer and richer than if you had used raw pine nuts right out of the package.
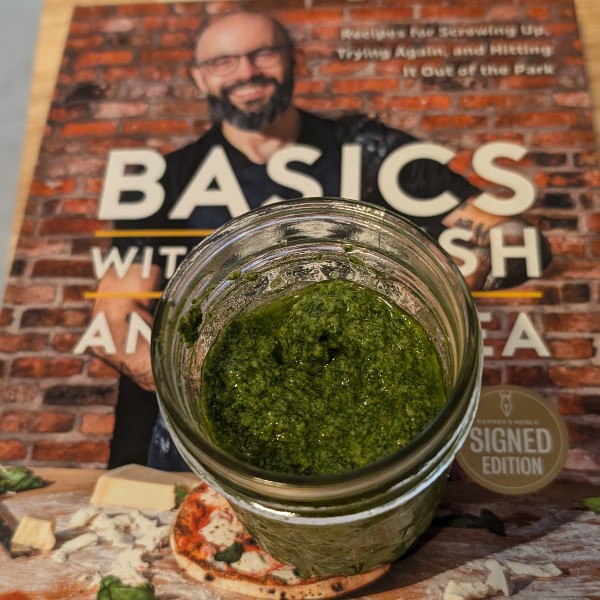
All told, this batch came out pretty good and I promise when I make it again, I’ll take better photos. I was in a hurry to give this to a friend. And now that I know how to use this smaller, quieter, generally easier appliance, you better believe my next step is any and all cocktails that require blending.
This makes about 3/4 of a cup, which is probably enough for dipping or a couple of small pasta dishes. Add to taste, and enjoy!

Immersion Blender Pesto
A perfect recipe for a small batch. If something tastes uneven, correct it to your taste – pesto is WAY more versatile than I thought.
Ingredients
- A tall, blender-proof container (mason jar, sturdy tin can – some blenders come with containers, too)
- 3 C basil leaves, stems removed
- 2 – 3 cloves garlic, peeled and cracked a little bit with the side of a knife
- 1/3 C pine nuts
- 1/2 C grated parmesan cheese
- 1/3 C extra virgin olive oil
- Pinch of kosher salt
- 1 – 2 tsp of lemon juice, to taste
Instructions
- Toast the pine nuts: put them in a single layer in a small pan on medium-low heat. Stir periodically and keep a close eye on them; when they’re golden brown they’re ready. This should take 3-5 minutes. (If you want a step-by-step on this, click here)
- Pour toasted pine nuts into a bowl and set aside.
- In a tall container, loosely pack the basil.
- Top with the garlic, pine nuts, oil, and salt.
- Blend using an up and down motion until combined.
- Add in the cheese and blend until smooth.
- Taste and then add in lemon juice to taste. Mine tasted weirdly flat and metallic at first, adding lemon juice brightened it right up.
Notes
To store, top with a little bit of extra oil and keep it in the fridge for a couple of days. To keep it longer, freeze it.
Leave a Reply